
Paper Quilling: Answer Key
1. What was paper quilling called when the craft first began?
Paper quilling was originally called paper rolling or paper filigree
2. Know the history of quilling.
During the Renaissance, French and Italian nuns and monks used quilling to decorate book covers and religious items. The paper most commonly used was strips of paper trimmed from the gilded edges of books. These gilded paper strips were then rolled to create the quilled shapes. Quilling often imitated the original ironwork of the day. In the 18th century, quilling became popular in Europe where “ladies of leisure” practiced the art. Quilling also spread to the Americas and there are a few examples from Colonial times. Many of the pieces that have been preserved from this time are found religious plaques and artwork. Today, quilling is seeing resurgence in popularity. The craft has become increasingly popular due to the low cost of the basic material, paper, that is required to make the shapes. It is used to decorate wedding invitations, birth announcements, greeting cards, scrapbook pages, and boxes. Quilling can be found in art galleries in Europe and in the United States and is an art that is practiced around the world.
3. Know the tools used in quilling
- Quilling Wand (Slotted Tool)
- Paper strips
- Glue
- Ruler
- Pins and Cardboard (to make eccentric coils if wanted)
4. Know and be able to correctly make each of the following rolls:
4a. Tight Circle
-
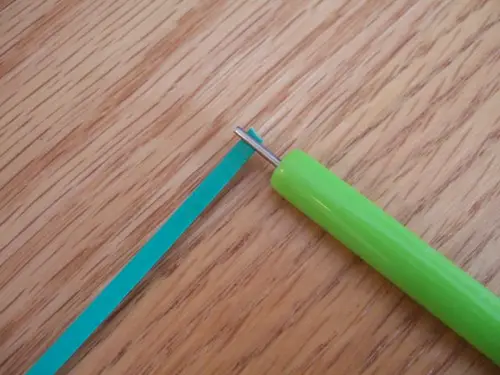
- To make a tight circle, take a quilling wand and a paper strip cut the you desired length. Put the end of the paper strip into the slot on the quilling wand.
-
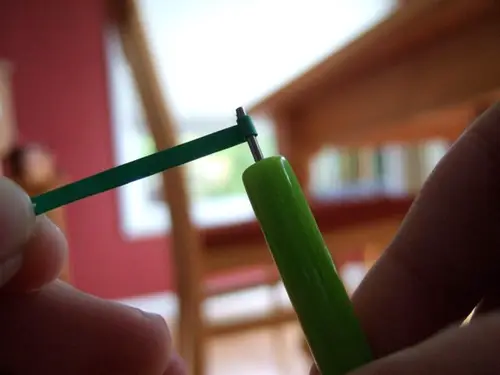
- Then, holding the paper strip kind of taut with your left hand, roll the wand toward your left hand with your right hand
-
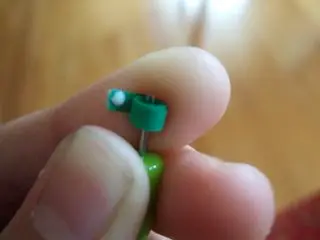
- Keep rolling and once you get to the end of the paper strip, put a tiny dot of glue on the end of the strip and press it against the side of the circle and hold it there for 5-10 seconds for the glue to dry
-
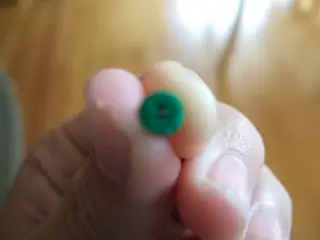
- Now, slip the tight circle off the quilling wand and… voila!! You have made a tight circle.
4b. Loose Circle
-
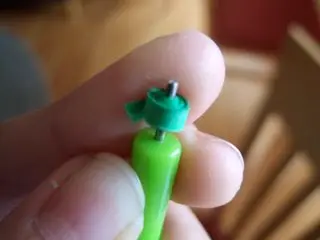
- The loose circle is almost the same as a tight circle. You start off the same way as you did with the tight circle but when you get to the end of the strip, don’t put any glue on the strip, but pull the circle off the quilling wand.
-
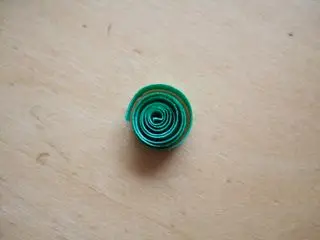
- Now, set it on a table and let it poof out!!
-
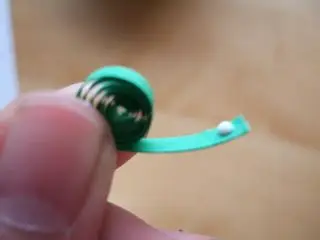
- Then, put a little dot of glue on the end of the paper strip and press it against the side of the circle and hold it there for 5-10 seconds.
-
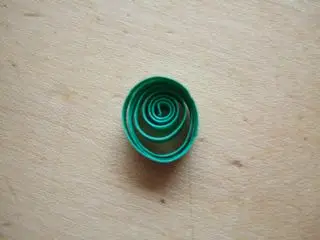
- And now you have a loose circle!!
4c. Teardrop
-
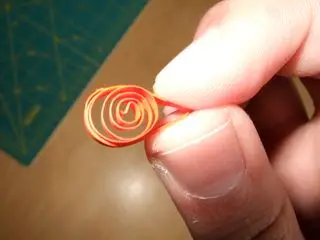
- To make a teardrop, start out with a loose circle. Pinch one side of the circle into a point
-
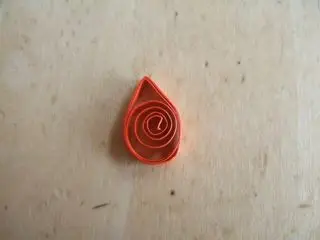
- Now you have made a teardrop!
4d. Shaped Teardrop
-
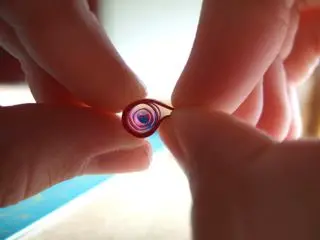
- To make a shaped teardrop, start off with a teardrop, but curl the point downwards.
-
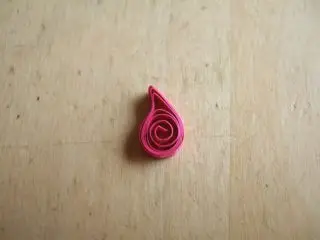
- And now you have made a shaped teardrop!
4e. Marquise
-
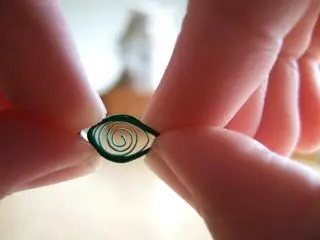
- to make a marquise, start off with a loose circle, then pinch it on opposite sides.
-
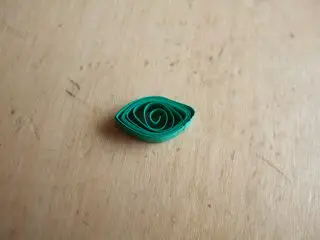
- Now you have, a marquise!
4f. Shaped Marquise
4g. Crescent
4h. Square
4i. Rectangle
4j. Triangle
4k. Bunny Ear
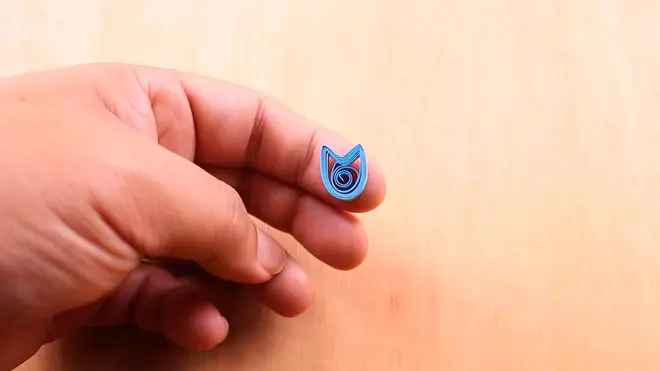
Bunny Ear
4l. Half Circle
4m. Rolled Heart (Arrow)
4n. Holly Leaf
5. Know and be able to correctly make each of the following scrolls:
5a. Loose Scroll
5b. Open Heart
5c. V Scroll
5d. S Scroll
5e. C Scroll
6. Make a simple floral design by using at least three of the methods above.
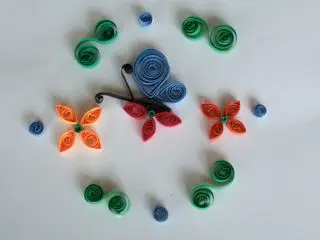
These are very fun to make! All you need to know is how to make the basic shapes and scrolls listed above. You can combine the shapes to make beautiful flowers, butterflies, and designs. Then you can glue them onto a card or a piece of paper and hang it in your room. Here is a simple floral design using marquises, S scrolls, loose scrolls, V Scrolls, teardrops, and tight circles.
7. Make a filled-in picture or ornament.
References
Adapted from AY Honors/Paper Quilling/Answer Key on the Pathfinder Wiki, licensed under CC BY-SA 3.0. See the original page's history for its authors.
Found a mistake? Report it.
This is an unofficial community site. It is not affiliated with or endorsed by the General Conference of Seventh-day Adventists, the North American Division, or the official Pathfinder Wiki. Content is adapted from the Pathfinder Wiki under CC BY-SA 3.0.